Pie Crust Made Easy

I absolutely LOVE making pies! There is something about being covered in flour with a rolling pin in my hand that’s therapeutic to me. I have to admit, though, this was not always the case. There once was a time where I avoided making a homemade pie crust at all costs. I had no problem with purchasing a ready-made pie crust from the dairy section or even one already rolled out from the freezer section.
This was before I started making pies for sale. After my first year of success with making pies, I realized that it was my duty to give my clients something that is 100% made from scratch. It’s what I would want if I was buying a pie from someone. So, I set out to find the perfect pie crust recipe and master it.
Now don’t get me wrong, I have had a lot of practice, but I want to give you all these tips and tricks of pie crust so that you aren’t standing in front of a pie crust, with a rolling pin in your hand, banging it on the countertop while crying because you just can’t get it right.
These are my tried and true tricks to perfecting pie crust, and I’m giving them to you just in time for the holidays!
1. I use Martha Stewart’s Perfect Pie crust recipe. When she says it’s perfect, she’s telling the truth!
2. COLD COLD COLD! The goal of pie crust making is to end with a perfectly flaky crust. The best way to ensure that happens is to make sure everything is cold. The butter should be cold. The water should be cold (ICE cold). If you’re making it by hand, make sure your hands are even cold. Take it one step further and chill your bowl or food processor & blade if you want.
Those little pieces of butter you are going to mix in need to remain sold. That is what is going to ensure a flaky crust. They will melt and release water and fat while baking, which leads to flaky perfection!
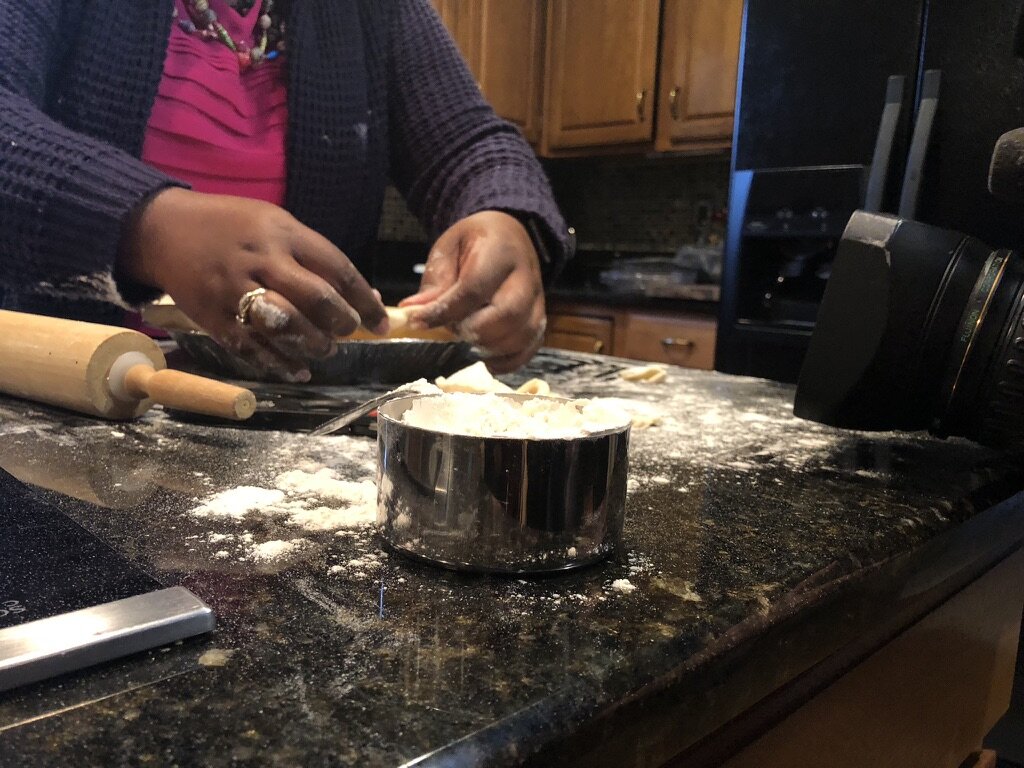
3. Only break down to pea-size. Most pie crust recipes tell you to work the flour and butter together until it’s about the size of peas. I can’t stress to you how important this is. As mentioned above, you want little pockets of butter. Keeping your hands/tools cold is also how you accomplish this. Warm hands will melt the butter and cream it into the flour instead of crumbling it into the flour.
4. Work quickly. Not chaotically. I always get all of my ingredients ready before I’m about to make a pie crust. I get my butter cut up first and store it in the fridge or freezer until I’m ready. I measure out my water then add ice to it, and have my salt and sugar close by. You need to work quickly when making a pie crust to keep the temperature as close to cold as possible. At the same time, you don’t want everything jumbled and chaotic, cause that’s just stressful.
5. Chill until ready to use. Once you get two discs out of your pie crust, you’ll want to wrap them in plastic wrap and keep them in the fridge until you are ready to use them. If you aren’t going to use it for a while, you can even freeze it for up to 3 months. Just throw the wrapped pie crust into a freezer bag.
Once you’re ready to use it, you can pull it out about 5-10 minutes before you’re going to roll it out. I should NOT be room temp before rolling. You just want to knock a bit of the chill off to ensure it’s pliable. (Thaw it in the fridge before this step if frozen.)
6. Dust your countertop, don’t spread it with flour. I grew up thinking I should sprinkle flour down on my surface then spread it out with my hand. That is not the right way to do it. It sounds menial, but it’s important. By dusting the surface with flour and not spreading it with your hand, you are ensuring the surface is actually covered. Spreading it with your hand leads to spots on the counter that are exposed, which could lead to your crust sticking.
7. Don’t roll immediately. I actually beat my pie crust while rotating until it’s about 1 inch thick. This keeps the crust in its round shape, but also makes it easier to roll out without cracking. Keep in mind it’s cold, so it shouldn’t be incredibly simple to roll right at the beginning. Lightly beating it with your rolling pin helps with this.
8. Have a ruler on hand. You want a ruler to ensure you’re rolling out your pie crust enough to fit the pie plate (And not too much! That’s really important.), but it’s also helpful when making a lattice crust or other decorative patterns.
9. Fold, don’t roll. To place my pie crust on its plate, I don’t roll it on the rolling pin with the intent of rolling it back out. This ALWAYS leads to my pie plate sliding and getting the crust in unevenly. That means there’s more time I’m working the crust with my hands, which we don’t want. Fold it over twice, forming a triangle, and then fold it out into the pie plate. Be sure to press and smooth the crust firmly into the pie plate to ensure there are no air pockets.

10. There are plenty of options for crimping pie crust. I personally, am not a fan of the fork method. It looks like little effort was made. Crimping with your thumb and index finger on one hand and index on the other is fairly simple once you get the hang of it.
First you want to trim any access crust leaving about 1 inch hanging off.
From there you should fold what’s hanging under so that it’s secured onto the rim of the pan, but hiding the seam.
This prepares you from maximum crimping.
11. Blind Baking. If you are making a pie that either takes a long time to bake or has a filing that doesn’t get baked, blind baking is needed. It’s important that you weigh down your pie crust before you blind bake it. This ensures your pie crust keeps it’s shape and does not bubble up.
There are a lot of blind baking options out there, but my favorite is actually something you use on cars. 1/4-1/2 ball bearings are perfect for blind baking crusts. Not only are they cheaper than pie weights, they also conduct heat better, are easier to clean, and last forever (dried beans are great and cheap, but only last through one or two bakings before your pie starts to taste like beans).
Just be sure to put a piece of parchment paper between your crust and whatever you choose to weigh it down with.
I really hope all of these tips are helpful. Take a deep breath and give them a try. I promise it won’t take you years to perfect pie crust like it did for me!